As soon as I was finished decorating my kitchen tree, I moved right into the dining room. I call this tree my 'decorative tree' as I wanted a place to hang ornaments chosen for their color only. This tree is filled with lots of chocolate brown, gold and a hint of red.
Now lets take a look at how it all comes together:
Now lets take a look at how it all comes together:
.jpg)
The Dining Room: A Blank Slate
I took this picture when only the lights were on the tree and my shelving was empty. I was working in the kitchen and every time I glanced toward the dining room (and this 'blank slate') I would get excited. There is something about an empty room, a new box of crayons or a fresh notebook that gets my creativity flowing. I think I enjoy an empty room almost as much as a decorated one!

Garlands
Just like with the candy tree, I added my garlands first.
Left: Pictures here are two strands of sparkly bronze stars. I purchased these a lonnng time ago when I still lived at home, and was getting ready to move out/ get married. I wanted something pretty for our first Christmas tree together and ordered these from a catalog. I have no idea what the price was, or even the catalog name, but I do remember the excitement of planning my first Christmas tree!
Right: This 'garland' is another keepsake from our wedding day. Our wedding programs were printed onto cream paper and rolled up to look like scrolls. Each scroll was then inserted into a golden wedding band to keep them from opening up. Once the day was over, I collected the left over wedding bands and chained them all together. I thought they would be a nice addition to our fist tree as well, and have hung them up every year since.
You can read more about my wedding day keepsakes here
And back to the tree.......

Garlands on the Dining Room Tree
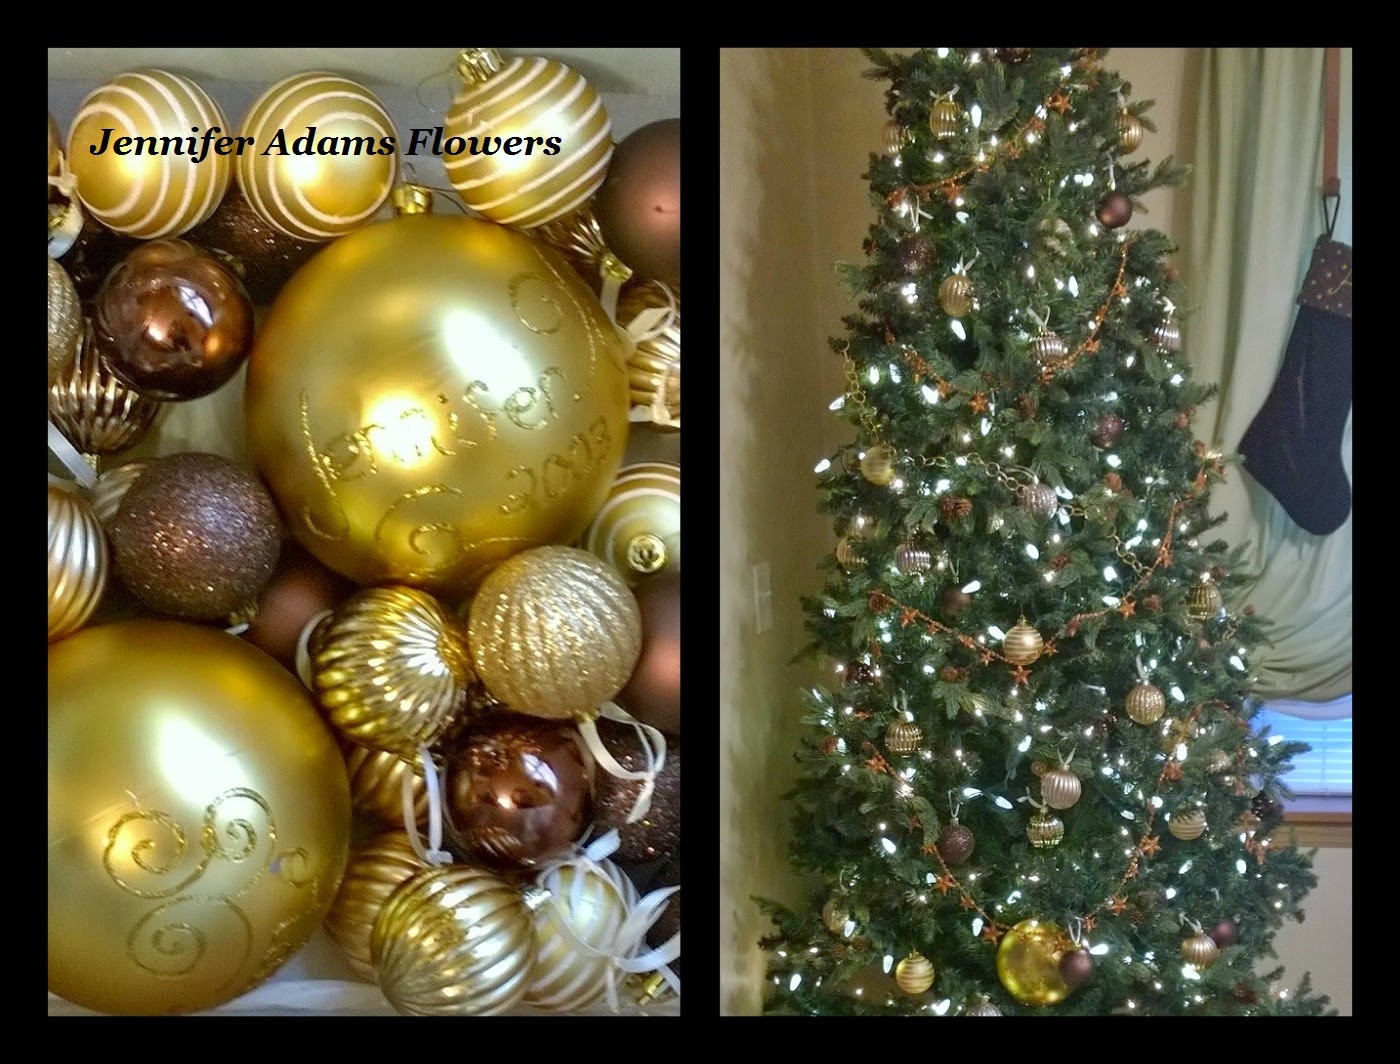
Time to decorate!
On the left you can see most of the ornaments used for this tree, and on the right is the tree after the ornaments were placed.
Currently, I only have two of the large golden ornaments. That is because they were purchased one year as our 'yearly' ornaments before we had the kids. (I'll be explaining what our 'yearly' ornaments are when I post about my Living Room tree). I moved them to the Dining Room tree because the big tree looked funny with only two large bulbs and I thought thought they might go better with the similar colored ornaments in the other room. I do like the color combination better, but it's still a tree with only two really big ornaments. Having several more in the same size wold look a lot more balanced, so I've added it to my holiday notes for next year.
What are holiday notes? After each holiday I make note of anything I want to remember for the next year; projects I want to make, supplies I will need, photos I want to take, etc. I keep my notes with my calendar so that when the holiday rolls around again, I know exactly where I left off and it's an easy way to stay organized
For example, when I looked at my December calendar for this year my holiday notes reminded me that I needed parchment paper for cookie baking, I need to rent Polar Express for Baby Girl, and some of my wreaths need a bit of tweaking. I added parchment paper to the grocery list (so now I won't have to make an extra stop), I'm going by the video store tomorrow (before holiday break and all the good movies are gone), and my wreath project I will be sharing with you soon ;)
After I write up my holiday notes, I also make a shopping list. That way when I find a clearance sale or am out treasure hunting, I remember what I need. When I find the items I bring them home and stick them right into the appropriate holiday bin. And just like that, everything is together and ready to go!
And back to the ornaments......

The larger the ornament, the farther inside the tree it should go.
I took these photos to show you the difference between hanging an ornament on the tree as opposed to inside of the tree. As you can tell by the photos, hanging the ornament inside the tree looks a whole lot better!
If you want to read more about the techniques I use to hang my ornaments, you can check out this post.
If you want to read more about the techniques I use to hang my ornaments, you can check out this post.
Now let's look at the specialty ornaments that belong to this tree.......

Top Left: Gingerbread Man cookie cutters. As you know from my kitchen tree post, I love ornaments related to sweets and goodies! I found these ornaments on clearance for .25 each one year after the holiday. They were silver, buy I spray painted them bronze and added gold ribbon.
I bought these back when I only had trees in the living and dining rooms, otherwise they probably would have ended up in the kitchen. I like them in the dining room because of the color and for the subtle nod toward food. The kitchen tree is sort of in-your-face-yummy, but the dining tree is a little more understated. My goal for the dining room tree is to be a color themed decorative tree, but a hint at good things to eat is ok ;)
In case you missed it, you can read the kitchen tree post here
Top Right: I made these cute little ornaments myself. The gold, heart-shaped wire frames used to hold candy and function as balloon weights and I bought them for .10 each after Valentine's Day one year. I tossed the candy and replaced it with small cuts of faux evergreen and artificial berries.
Bottom Left: These clear glass ornaments are some that I made last year. I filled the empty ornaments with faux berries out of my stash and then used a metallic gold paint pen to create the swirls on the outside. The empty ornaments can be purchased at Wal-Mart, but I can't remember the price. Dollar Tree had larger, plastic ornaments like these, but they sell out in October.
Tip: It's good to have a place to hang the ornaments from while the paint is drying, otherwise you will end up with some unsightly smudges.
A couple more pretty photos.......

A close-up of the bulb ornaments.

And a close-up of the specialty ornaments.

I'll be sharing more pictures of the dining room in an upcoming post, so you will all get to see a better view of the cute little village that lives beneath this tree.
Until then, happy decorating and thanks for stopping by!
-Jennifer
No comments:
Post a Comment
Note: Only a member of this blog may post a comment.